Certificate Authentication
Valid up to firmware 2024.6 - for firmware 2025.0 or newer see WBM 2: Security - Certificate management
Accessibility
|
This WBM page is accessible with user role:
|
How to get into the WBMHow to get into the WBM
Establishing a connection to the Web-based Management (WBM):
- Open a web browser on your computer.
- In the address field, enter the URL https://<IP-address-of-the-controller>/wbm,
for example: https://192.168.1.10/wbm.
For further information, see WBM.
Certificate Authentication page
The Certificate Authentication page is used to manage certificates for secure controller communication. For this, the Trust Stores and Identity Stores can be set up.
Trusted certificates and revocation lists of possible communication partners are stored on the Trust Stores tab. Your own certificates are stored on the Identity Stores tab.
The name for each store can be used with the interfaces for TLS communication, e.g., TLS_SOCKET block in IEC 61131‑3, or TlsSocket class in C++ or C#. The names of the stores are case-sensitive.
For information about the location of certificates on the controller's file system, refer to Directories of the firmware components.
- Letters [a - z] [A - Z]
- Numbers [0 - 9]
- Hyphen [ - ]
- Underscore [ _ ]
Trust Stores tab
On the Trust Stores tab, you can create different Trust Stores, name them and add certificates and revocation lists.
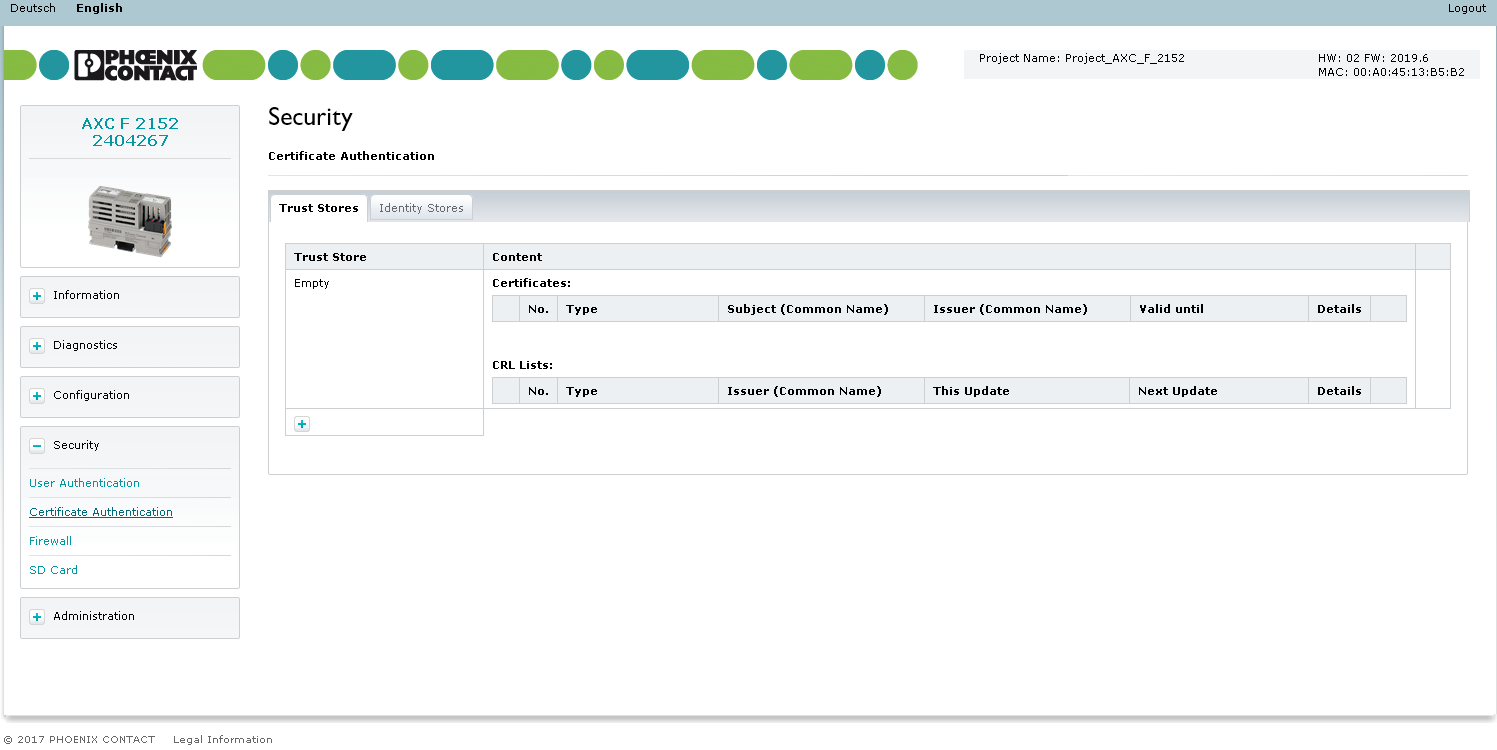
Empty Trust Store that already exists as a default. Therefore, this entry cannot be changed via the WBM.Adding a Trust Store
- To add a Trust Store, click on the
 button at the end of the Trust Store table.
 - In the dialog that opens, enter a new name in the Name input field (anything except
proficloudv3which is reserved for the Proficloud V3 services). Make sure to use only the allowed characters. - Then click on the button.
Deleting a Trust Store
- To delete a Trust Store, click on the
 button to the right of the Trust Store table.
 - In the window that opens, click on the button.
Renaming a Trust Store
- To rename a Trust Store, click on the
 button to the right of the Trust Store table.
 - In the dialog that opens, enter a name in the Name input field.
- Click on the button. Make sure to use only the allowed characters.
Creating a Trust Store
Each Trust Store is represented by two tables in WBM:
- Certificates table:
In this table, you can manage trusted certificates and issuer certificates. - CRL Lists:
In this table, you can manage the revocation lists (CRL - Certificate Revocation Lists) for the corresponding Trust Store. For this, you store untrusted certificates and issuer certificates.
Adding certificates and revocation lists
You can add certificates and revocation lists to a Trust Store:
- To add a certificate, click on the
 button below the Certificates table of the corresponding Trust Store.
The Add Certificate dialog opens.
- To add a revocation list, click on the
 button below the CRL Lists table of the corresponding Trust Store.
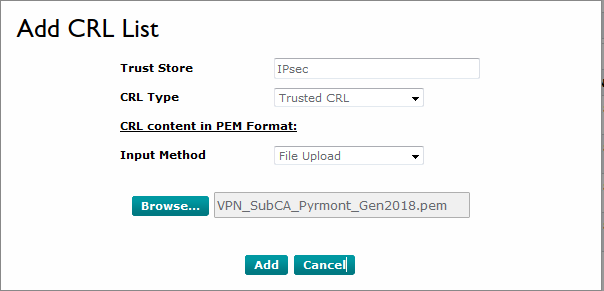
The Add CRL List dialog opens (see Add CRL list).
In the Certificates Trust Store table, a distinction is made between the Issuer Certificate and Trusted Certificate certificate types.
- Select the desired certificate type from the Certificate Type drop-down list.
Possible settings:
- Issuer Certificate
- Trusted Certificate
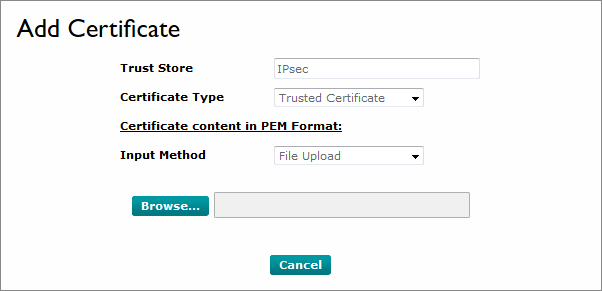
Input method
From the Input Method drop-down list, select the way a certificate or revocation list is to be added to the Trust Store.
Possible settings:
- File Upload
- Text Content
File Upload
You can upload a certificate or revocation list.
- To upload a certificate in .pem format, select File Upload.
- Click on .
- In the file explorer that opens, select the desired certificate.
- Then click on the button.
The certificate or revocation list is added to the Trust Store.
Text Content
- To add a certificate or revocation list in text form, select Text Content.
- Enter the text into the input field.
- Then click on the button.
The certificate or revocation list is added to the Trust Store.

Deleting certificates and revocation lists
- To delete a certificate or revocation list from a Trust Store, click on the
 button of the respective certificate or revocation list.
 - In the window that opens, click on the button.
Detail view
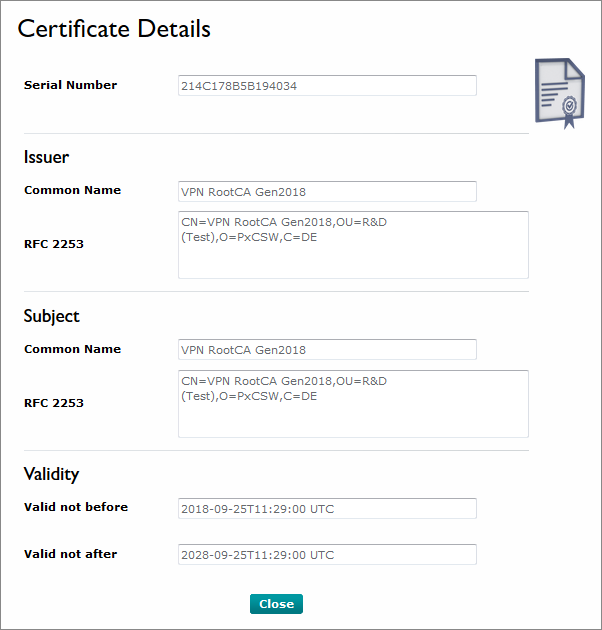
The detail view provides detailed information on every certificate and revocation list:
- To open the detail view, click on the
 button of a certificate or revocation list.
The detail view opens.
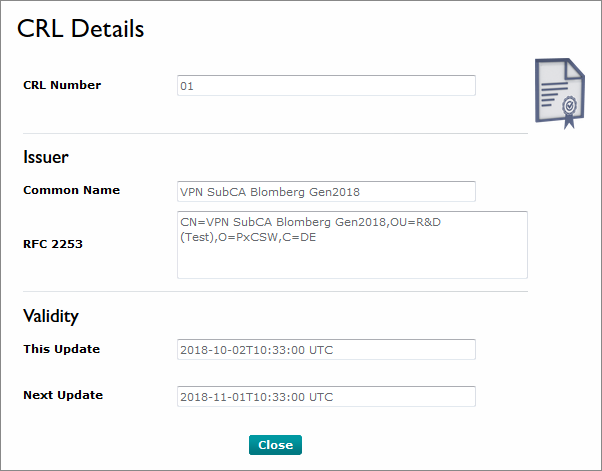
- To close the detail view, click on the button.
Identity Stores tab
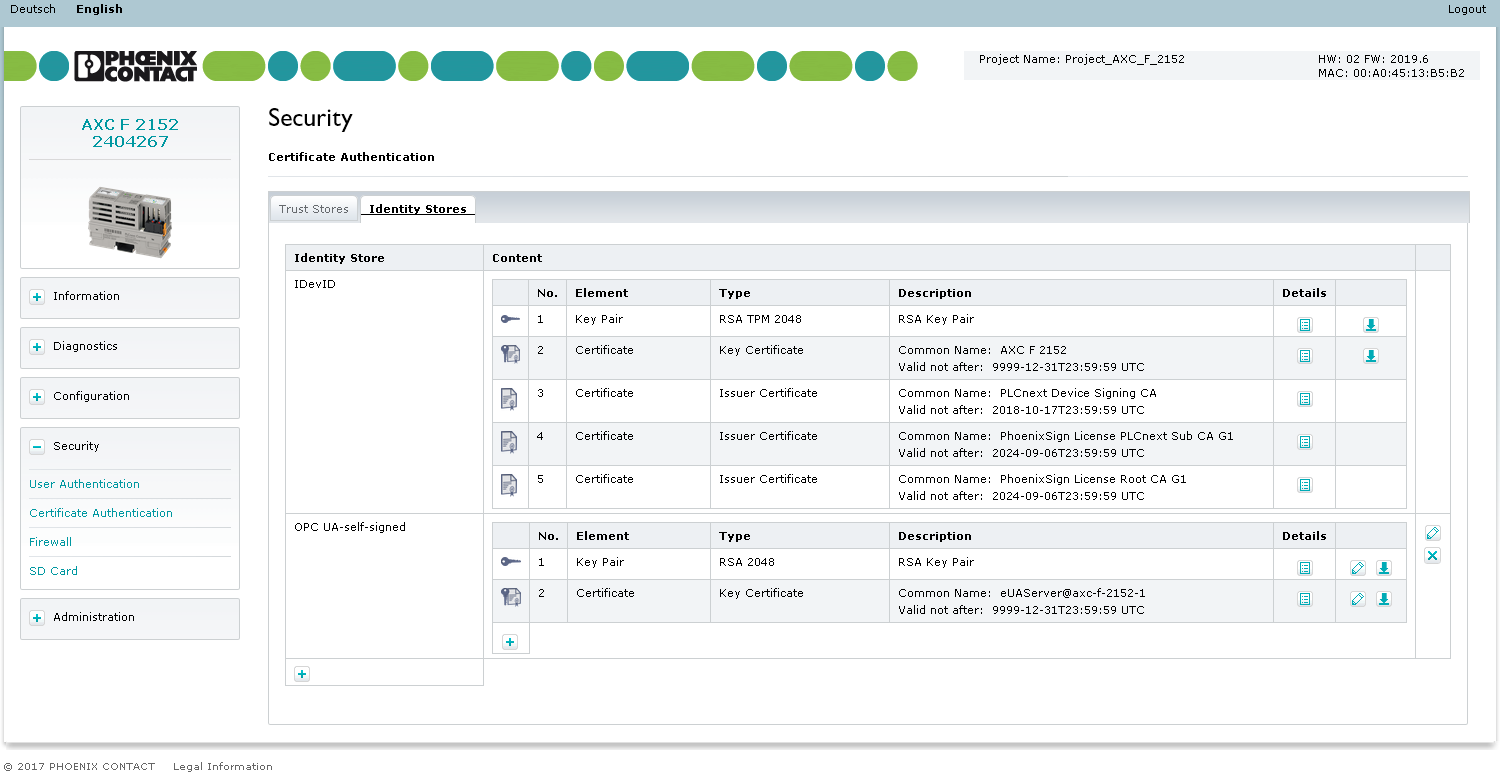
On the Identity Stores tab, you can create and manage different Identity Stores. Each Identity Store usually contains an RSA key pair and the corresponding key certificate. As an option, you can add further issuer certificates to an Identity Store. The IDevID and OpcUA-SelfSigned Identity Stores are part of the system and supplied with the controller. Each subdirectory corresponds to the name of an IdentityStore. An IdentityStore contains identities (X.509 certificates with associated private key).
An IdentityStore directory contains the following files:
- certificate.pem: The file in PEM format contains the X.509 certificate of the identity. The file may additionally contain several certificates of the certificate chain.
- key.pem: The file in PEM format contains the private key for the certificate.
- tpmkey.pem: The file contains the private key linked to the TPM (Trusted Platform Module) of the controller.
Adding an Identity Store
- To add an Identity Store, click on the
 button at the end of the Identity Store table.
 - In the dialog that opens, enter a name in the Name input field. Make sure to use only the allowed characters.
- From the Key Pair drop-down list, select the way the key pair is to be added.
Possible settings:
- Enter
- Generate
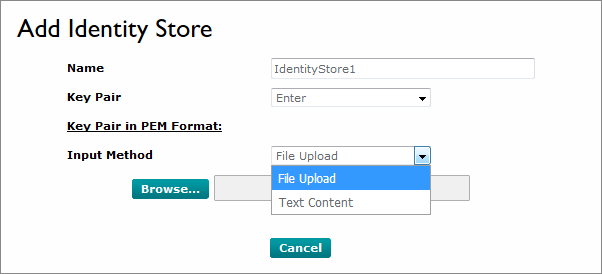
Enter:
- From the Input Method drop-down list, select the way the key pair is to be added to the Identity Store.
Possible settings:
- File Upload
- Text Content
- For additional information on the Input Method, please refer to Input method.
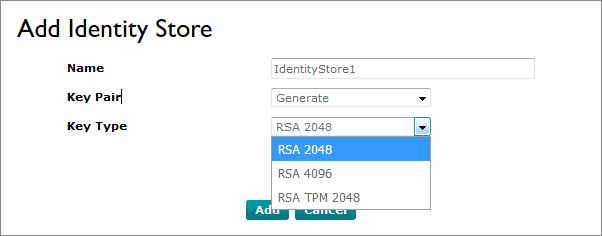
Generate:
The controller automatically generates a key pair.
- From the Key Type drop-down list, select the encryption method.
- To add the Identity Store, click on the button.
Deleting an Identity Store
- To delete an Identity Store, click on the
 button to the right of the Identity Store table.
 - In the window that opens, click on the button.
Renaming an Identity Store
- To rename an Identity Store, click on the
 button to the right of the Identity Store table.
 - In the dialog that opens, enter a new name into the New Name input field. Make sure to use only the allowed characters.
- Click on the button.
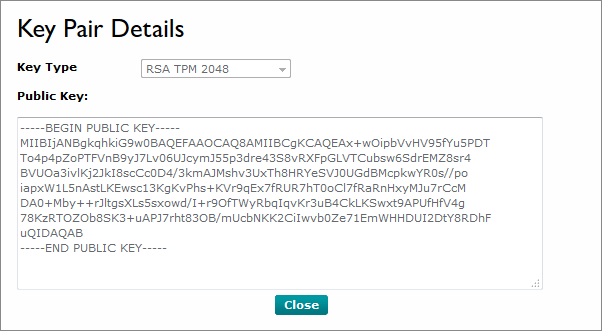
Detail view
The detail views provide detailed information on every key pair, key certificate or issuer certificate:
- To open the detail view, click on the
 button of a key pair or certificate (see also Certificate Details).
 - To close the detail view, click on the button.
Downloading public keys or key certificates
You can download the content of the public key of a key pair as a .pem file.
If a key certificate is available, you can download it as a .crt file.
- Click on the
 button in the final column of the respective table entry.
 - Save the file to a directory of your choice or directly open the file with a suitable tool.
Setting a key pair
- To set a key pair, click on the
 button in the final column of the table entry.
The options for setting a key pair correspond to the options in Adding an Identity Store.
Setting a key certificate
- To set a key certificate, click on the
 button in the final column of the table entry.
The options for setting a key certificate correspond to the options in Adding an Identity Store.
Adding issuer certificates
- To add an issuer certificate, click on the
 button below the table of the corresponding Identity Store.
Select an input method. See Adding certificates and revocation lists.
Deleting issuer certificates
- To delete an issuer certificate, click on the
 button of the certificate.
 - In the window that opens, click on the button.
