Create update plans
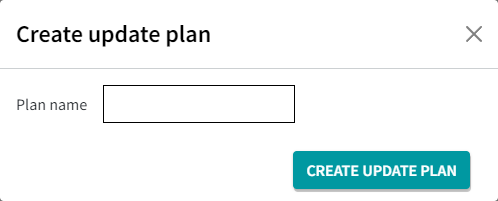
- To create a new update plan, click the button.
A new window opens.

- Enter a name for the new update plan and click the button.
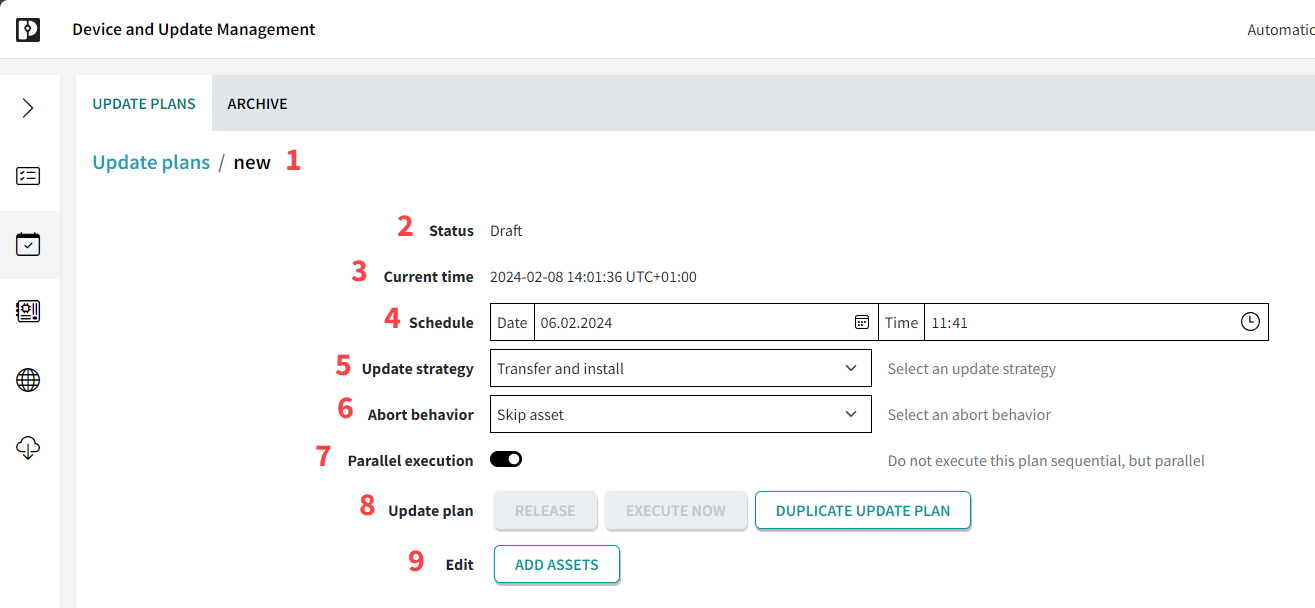
Overview

| 1 | Name of the update plan you have just created and are currently modifying |
| 2 | Status of the update plan |
| 3 | Current time |
| 4 | Schedule your update plan |
| 5 | Select an existing update plan on which the update plan should depend (available from DaUM version 2025.6). |
| 6 | Create a new update plan on which the update plan should depend (available from DaUM version 2025.6). |
| 7 | Update strategy: You can transfer the update and install it directly or just transfer it and then install it later. |
| 8 | Abort behavior: Define the behavior that should take effect in the event of an error message during the update.
Skip asset: The one asset causing the error message is skipped. All other assets in the update plan are updated as scheduled. |
| 9 | When you have more that one asset in the update plan, then you can decide whether the asset updates should be executed in parallel. (The max. number of parallel updates is configured on the SOFTWARE UPDATE tab on the Administration page.) |
| 10 | Possible actions:
RELEASE: The update will start at the time specified above. |
| 11 | Add assets to your update plan. |
Add assets
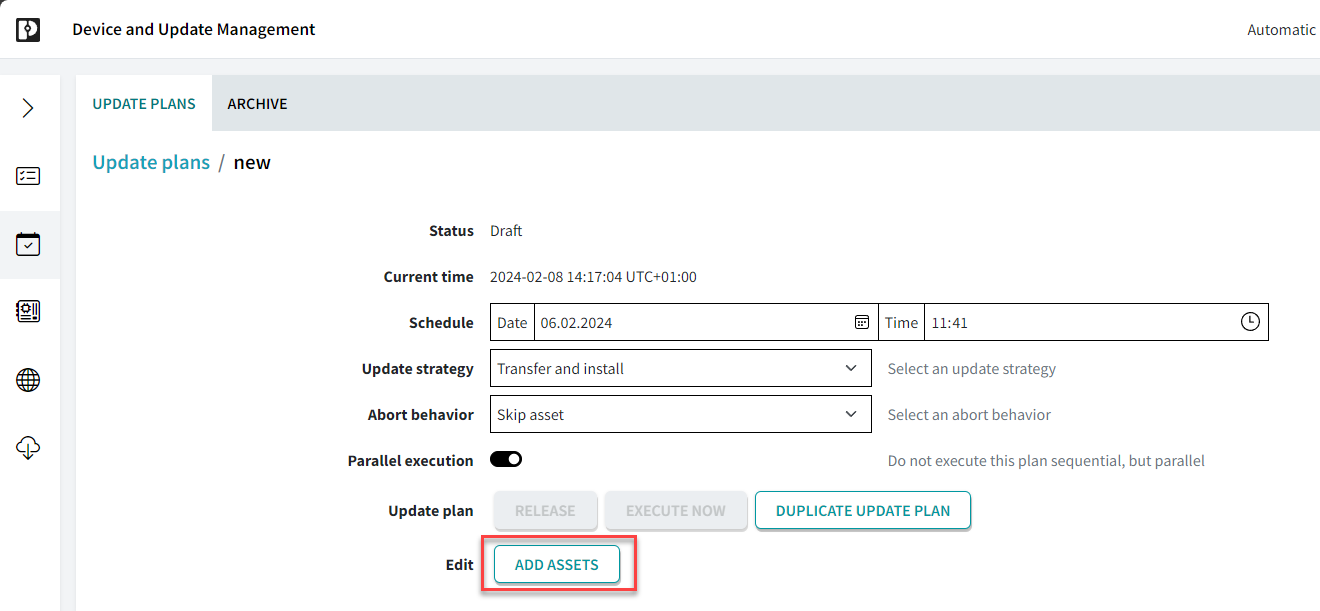
- To add assets to your update plan, click the button.

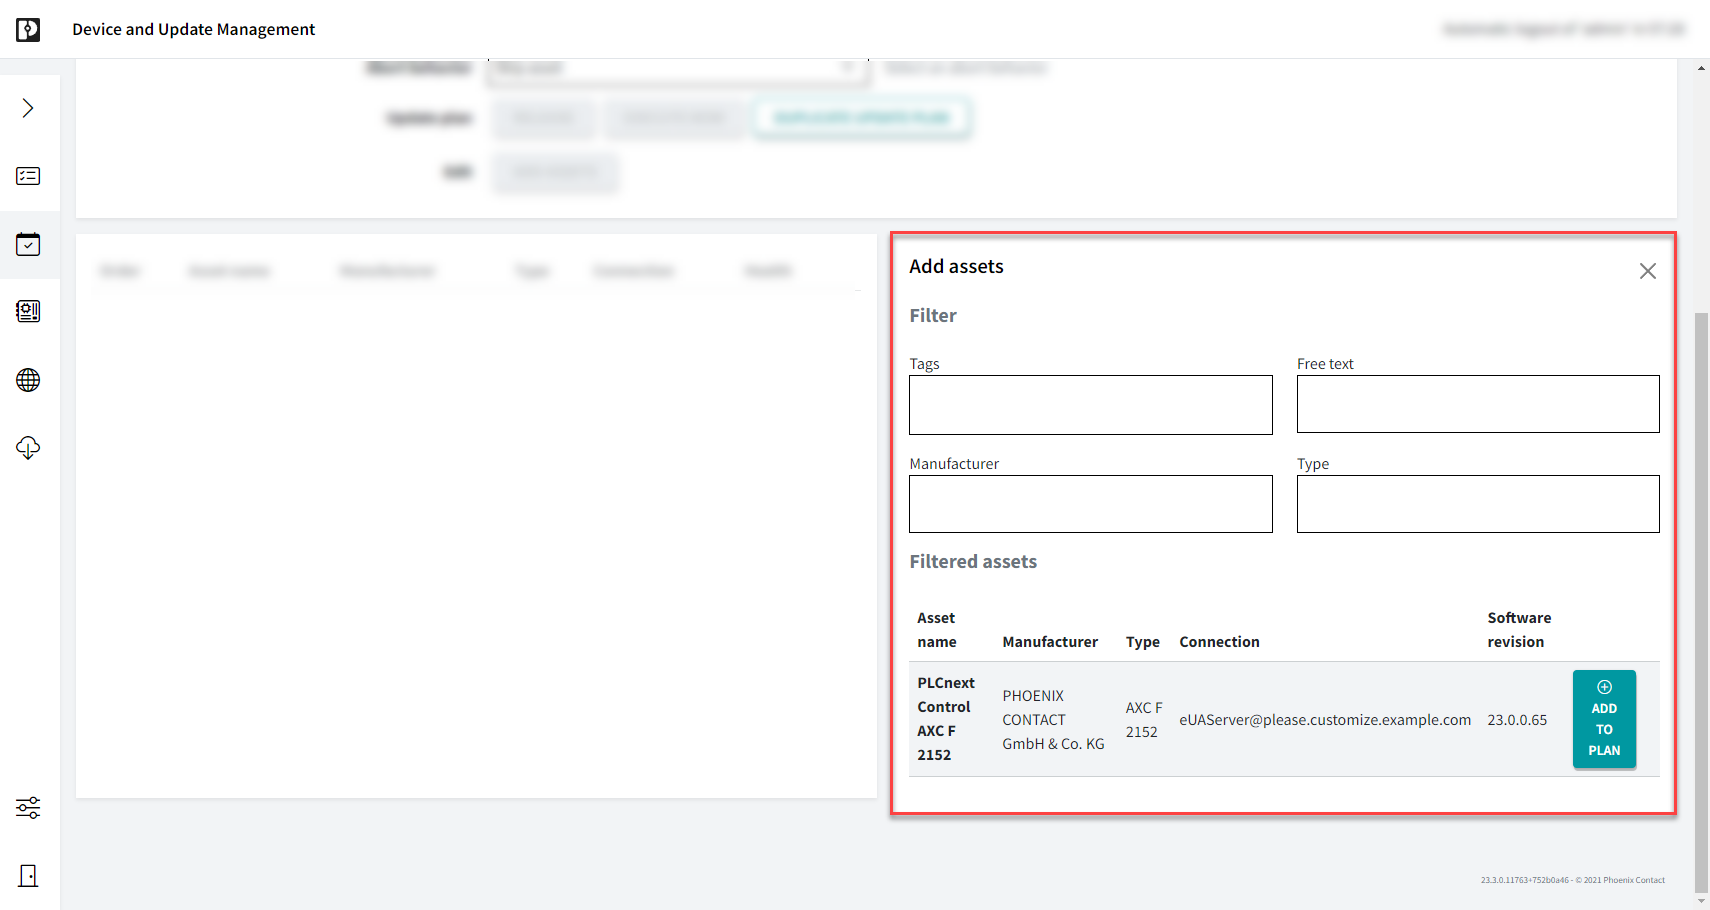
A new window expands, you will now see the dialog for adding assets with a list of all assets.

- To add the chosen asset to your update plan, click the button.
Note: It is also possible to add different assets in one plan. Also you can assign different updates to the assets.
You will see an overview of the assets that are in your update plan.

- Click the Select firmware button.

A new window opens. You will now see the dialog for the selected update with a list of tags.
Note: You can only select files that you have previously downloaded. For information on this, refer to the update packages topic.
- Select the files you want to add to your update plan.
- Edit your update plan according to your requirements.
- Release the update plan or execute it right now.
• Published/reviewed: 2026-02-13 ☃ Revision 089 •